- Verify that your data sources are connected correctly
- Explore the columns and data types that are available in your data sources
- Search for specific data in your data sources using the SQL Editor or the Query Builder.
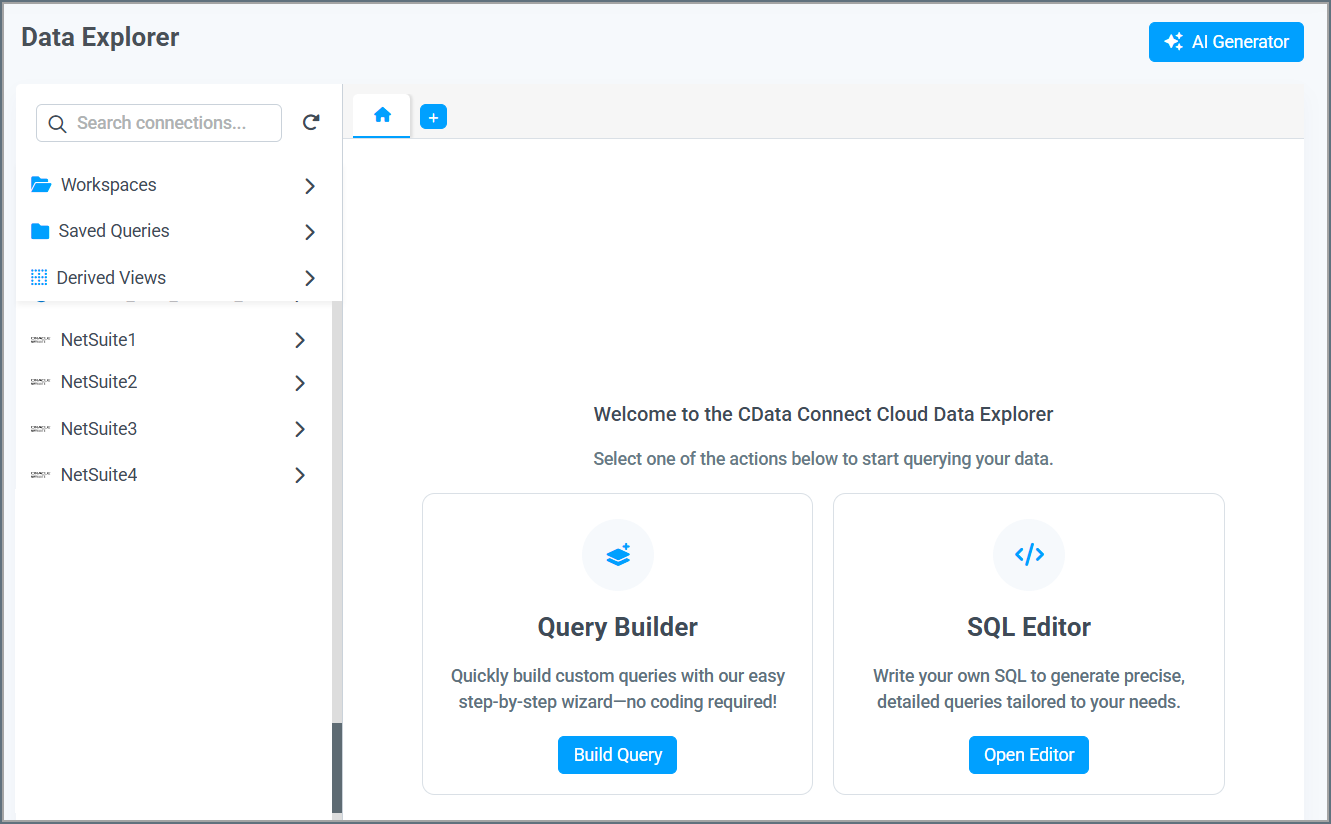
Use the SQL Editor
The SQL Editor allows you to create, modify, and save queries.For instructions on using the Query Builder to build queries, refer to Query Builder.
Create a Query in the SQL Editor
Follow these steps to execute a query using the SQL Editor in the Data Explorer:1
Select a table or view in a connection or workspace, or select a saved query or derived view. All available items appear in the left column.
- The solid table icon indicates a table.
- The dashed square icon indicates a view.
- The blue double document icon to the right of the item indicates that the item is being cached. See Caching for more information.
2
Choose the data that you want to query.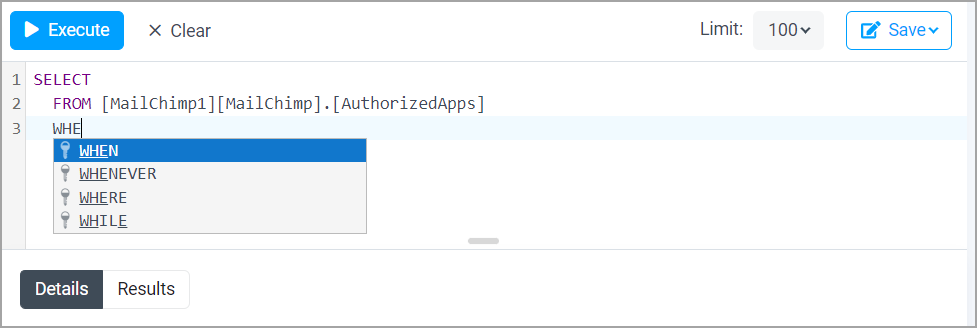
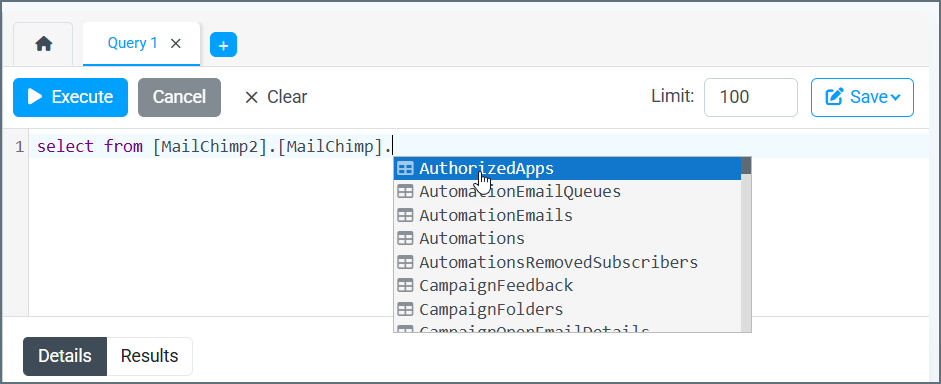
- To view the SQL query for an entire table or view, click that table or view. Alternatively, click the three dots next to the table or view and select Open. The SQL query appears on the right. Column details appear below the SQL query. This query is read-only until you execute it.
- Click the three dots next to the table or view and select Query to create a new query based on the table or view. You can edit the query before you execute it.
- Some data source types contain SQL templates for commonly-used queries. These queries appear under Common Queries when you expand the connection name. Click the three dots next to the query name and click Query to view the query. You can edit the query, if needed, before you execute it.
3
Set the Limit field to the number of results that you want to return. By default, the limit is 100. You can set any limit, but you MUST enter a value in this field. (Do not use the SQL LIMIT clause.)
4
Click Execute to run the query.When you execute the query, a loading icon appears in the Results section, along with a time elapsed notification. The loading icon also appears in the query’s tab.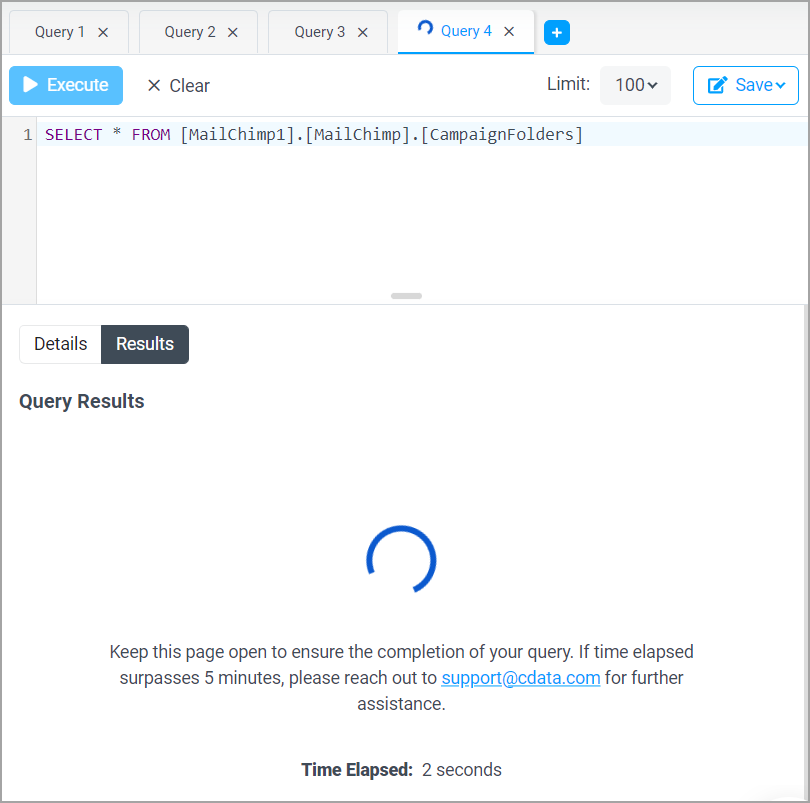
5
When the query is finished executing, your results appear under the query editor. You can scroll through pages and adjust the number of results per page by using the fields at the bottom of the page. You can also adjust the column widths of the results.If your query returns an error, an error message appears above the query. An error icon also appears in the query’s tab. Click Learn More for more details about the error.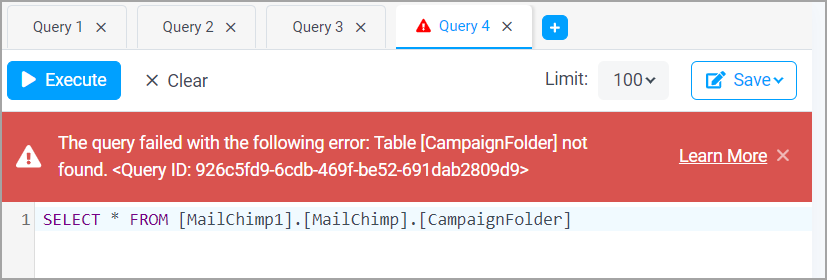
Modify a Query
After a read-only query executes, a new tab appears with a name such as Query 1. You can then modify the query and save it with a new name.- Modify the query manually by entering query parameters into the query editor.
- Clear the query editor by selecting Clear and then clicking OK in the prompt that is displayed.
Save a Query
Data Explorer provides the ability to save queries and return to them later without the need to re-enter the query parameters each time. After you create and successfully execute a query, the Save button at the top of the Data Explorer pane becomes available. Follow these steps to save a query and access it later:1
Click Save > Save as Saved Query. The Save Query dialog appears.
2
Enter a name for the query and click Confirm.
3
The Data Explorer Saved Queries menu opens, and your newly-saved query appears in the list.
Use Saved Queries
Saved queries are available in the Saved Queries folder in the Data Explorer navigation pane, and saved derived views are available in the Derived Views folder. To execute a saved query, click the three dots next to the saved query name and select Query. The contents of the saved query populate in the Query Editor, and you can click Execute to retrieve the results. You can also rename and delete saved queries when you click the three dots.Add to a Workspace
You can use the Data Explorer to add assets to a workspace.1
Click the table or view you want to add to a workspace. Connect AI calls contents of a workspace assets.
2
Click the three dots next to the asset and select Add to Workspace.
3
Select the workspace to move the asset to and click Confirm.
Configure Derived Views
The derived views feature of Data Explorer allows you to create and save queries that return dynamically populated data results from your connections. You can query your saved derived views from Integrations, and the results automatically update when the data in your connections change.Only administrators of Connect AI can create or modify derived views. Query users can query saved derived views created by an administrator.
Create a Derived View
To create a new derived view, follow these steps:1
Create the query in the Query Builder or SQL Editor. After you execute the query, the Save button appears. Click Save > Save as Derived View. The Create Derived View dialog appears.
2
Enter a name for the derived view in the View Name field. This is the name that appears in the list of saved derived views.
3
Click Confirm to save the derived view.
Access a Derived View in Integrations
When issuing queries to a derived view from within an integration tool, set the Connection or Database value to CData. The following syntax shows the correct fully-qualified syntax for accessing a derived view:Access a Derived View in Data Explorer
After you create a derived view, it appears in the list of derived views in Data Explorer. You can click the three dots next to the entry in the list to open a list of options.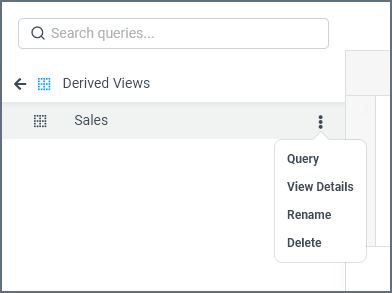
- To execute the query, click Query. The contents of the derived view appear in the Data Explorer query view, and you can then click Execute to view the query results.
- You can click the three dots next to the derived view and select Open/Edit to change the name of the derived view, or you can click Delete to remove it from the list.
Modify a Derived View
To modify the query of a derived view, use one of the methods outlined above to access it. With the derived view open, modify the text in the query field as needed and click Save Changes at the top of the Data Explorer. To rename a derived view, click the three dots next to the entry in the list and select Rename. Enter the new name in the dialog that appears and click Confirm.Delete a Derived View
To delete a derived view, click the three dots next to the entry in the list and select Delete. In the confirmation dialog that appears, click Delete again.Deleting a derived view does not affect data in the source.
Create Scheduled Queries
You can save a query as a scheduled query. A scheduled query runs at user-defined intervals. To create a scheduled query:1
Create your query using the Query Builder or the SQL Editor.
2
Click Save > Save as Scheduled Query.
3
You then enter the details about the scheduled query, such as how often it runs. See Scheduled Queries for details.
Add to a Workspace
You can use the Data Explorer to add assets to a workspace.1
Click the table or view you want to add to a workspace. Connect AI calls contents of a workspace assets.
2
Click the three dots next to the asset and select Add to Workspace.
3
Select the workspace to move the asset to and click Confirm.
Add a Cache Job
You can use the Data Explorer to cache the data for a table or view. Caching allows you to fetch cached data from a database instead of retrieving live data, improving performance. See Caching for details. To add a cache job:1
Click the table or view you want to cache.
2
Click the three dots next to the asset and select Add Cache Job. You are redirected to the Edit Job page.
3
Follow the instructions in Edit a Caching Job.